In normal conditions, the filter should last around 5 years in your Austin Air Purifier. It may need to be replaced sooner if it's working extra hard in tough, polluted or contaminated conditions.
So how do you know when it's time to replace your filter?
There will be two indications that it is time to replace your filters:
- An unpleasant odor coming from the unit means that the carbon in the filter is full and the filter needs to be replaced.
- Significantly reduced airflow coming from the unit means that the HEPA filter is full and the filter needs to be replaced.
When it is time to replace your Austin Air filter, all you will need is a phillips screwdriver and some gloves. You will also use the new filter's box to put the old/used filter in.
Here's How to Change Your Austin Air Purifier Filter in 10 Steps
1. Turn unit to the off position and then unplug your Austin Air Purifier from the power outlet.
2. Turn your Austin Air Purifier upside down on a soft surface.
3. Using a phillips screwdriver, remove the four screws from the bottom cover.
4. Wearing protective gloves, lift the bottom cover off and set aside.
5. Remove your new filter and pre-filter from the box and set aside.
6. Remove old filter and pre-filter from your unit and place into the empty box.
7. Install the new pre-filter by aligning it with the power cord.
8. Install your new filter top side down.
9. Replace the bottom cover and screw down tightly.
10. Turn your Austin Air Purifier right side up and turn on high setting (III) for at least one hour.
That is it! Your new filter should be good for another five years!
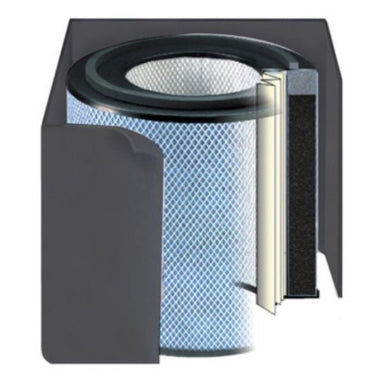
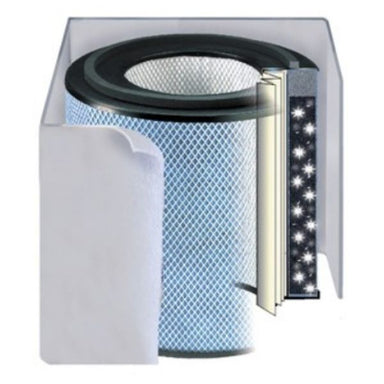
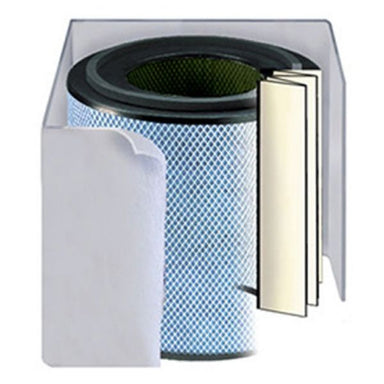
Are you ready to purchase your new filter? Choose your option below!